Concept
For this demo purpose, we will create several reusable components like List, Card (to represent unique UI for the list), custom Hook that gathers data from API. Full source code of this project you can find at our GitHub repository.

Initializing project using React Native & Expo
For this simple use case like represent a list of employees we are going to create a new React Native project using Expo. Expo allows us to reuse well-prepared tools and services and avoid tedious work when building simple apps.
So let’s get started and create a new React Native project with the command line:
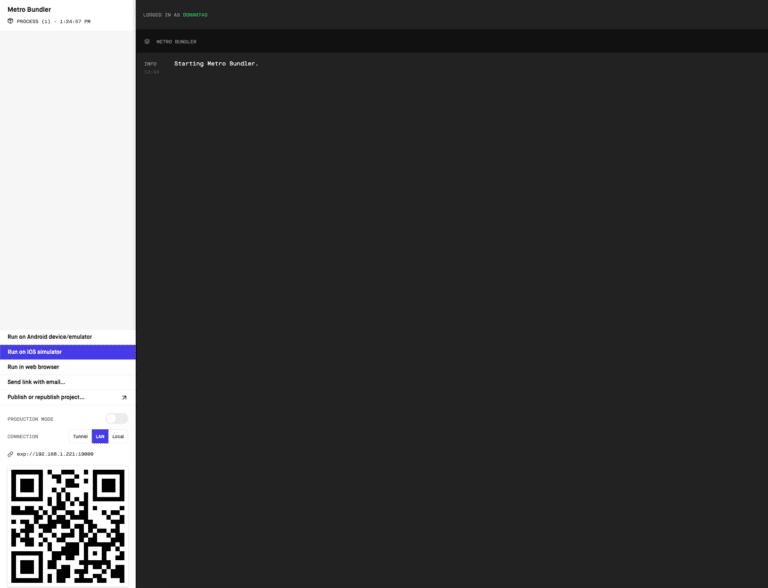
By entering the first command from the above, you will be asked to choose the “blank” template option from the available menu this will create a minimal app as clean as an empty canvas. After that, by hitting the “expo start” command you will be followed with the expo screen in your favorite browser. In my case, I see Metro Bundler under http://localhost:19002 address. So let’s go ahead and press the “Run on IOS simulator” button. For those who are new with mobile development using React Native or other frameworks, please follow the “Get Started” documentation from the Expo website.
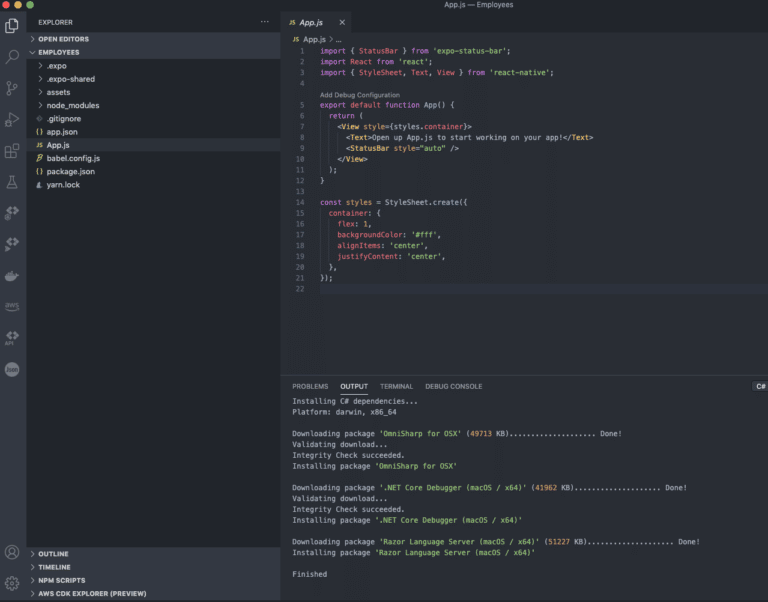
Now when do you have opened the IOS simulator you see a blank screen. Let’s go ahead and open your favorite IDE. In our case, we use Visual Studio Code. So be entering command “code .” in your terminal or command line(Windows) you can see the whole project structure as shown in the image below.
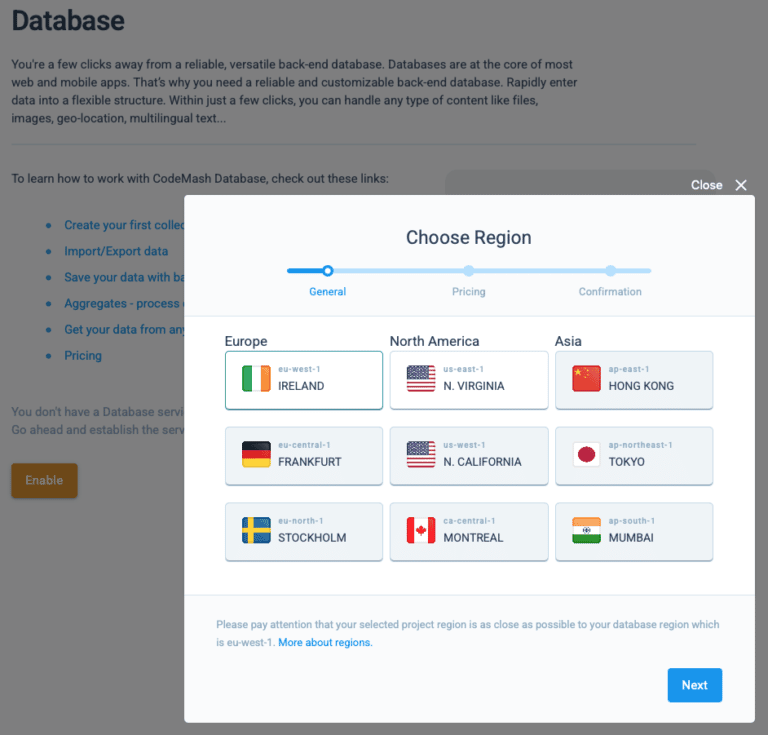
Before we start gathering some data and create a nice list of Employees let’s go ahead and create a database, fulfill it with data and call it through API. In this case, we are going to use MongoDb. To get MongoDb quickly, establish a connection, wrap it up with restful API we will use the CodeMash Database service. Just create a new account on https://codemash.io Create a new project and then go to the Database module.

Choose where your database should be located at. It’s crucial to have a database close to the main audience of your app. It this lecture we will skip more advanced topics about having multiple databases in different regions. So for this example, we will locate our database in eu-west-1 region.
So the next step is to create a data structure. On the collections list, just press the Add New button, enter the collection name (e.g. Employees), and you will see all the available options – data fields that you can use for persisting employees’ data and use it from your application. Please check out the video we provided in which we will walk through all those steps and show you how you can leverage the visual schema builder. Also, you can go and find more information about technical details on our comprehensive documentation page.

To things go smoothly, please download the schema structure from our GitHub repository. You can apply JSON schema on your project without creating fields manually. This works great when you have a bunch of fields in one schema. For this example, we are using just four data fields: First Name, Last Name, Title, and Avatar. The title field is a taxonomy (a.k.a lookup field) which represents the position of the employee in the company (CEO, Software Developer, Marketing Manager,…). Go ahead and create some records. We are almost done with the database part. Here is the list of employees we just have entered.

Now it’s time to think about how we will gather that data using API. For such reason let’s go ahead and create a Service Account which will be used as a connection between mobile application and database. On the Membership module let’s create a new user.
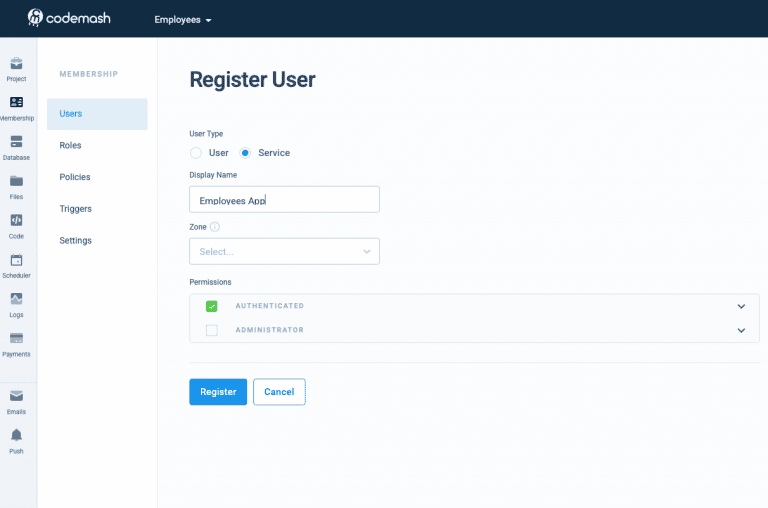
Save it, press it on detail again and you will see the “Regenerate API Key” button. Please press on that button and grab the newly generated token. It’s important to save it somewhere where you can access it later. This API Key will be used when we do calls to our API.

That’s it for now with the database. We will come back later, to do some adjustments like exposing images to the application, also we will do image optimization because now images were uploaded with the size as it is and that’s quite too big when you gathering data for the list.
Installing CodeMash and connecting database with your application
To install CodeMash you just need to go back to your terminal and enter the command “npm install codemash”. For more information, you can follow our documentation page.
On the App.js file enter the code snippet and enter the API key you have just generated while time ago. Near to that enter project ID. Project ID you can find at Project -> Settings. Here is more information on how to achieve this. First time here we used a webhook called UseEffect to initialize the CodeMash connection one time once application is loading.
Getting started with React Native List.
Before we go deep dive into details of how to represent our employees int the list, we will make the project structure more convenient. We will place all the source code under the src folder and screens folder beneath. Also, we will create folder called copmonents to place components that will be reused many times in our project. The list is a great example of that. Just think about it. You probably need list with paging, some sort of filtering, you need show nice message when there is no data to represent, initially we need show loading indicator and probably you want to have a common style across all the screes you are going to build eventually.
Let’s call our List component SimpleList and put that under the components/lists folder. Here is how it looks like:
Small explanation: SimpleList consists of bunch of properties you are going to use when you render the list. For sure you need to pass data, renderItem function, and other indicators that allows rendering data properly. Also, you can pass styling information and title if needed. This list will be used closely with hooks which gathers the data and works with this component. We will go deep dive into explanation just in a moment. But just before that, let’s create reusable hook for getting that from API.
Custom hook to work with API
In this section, we will cover how to work with API. Many front-end developers tend to write custom code that fetches the data from API either using fetch or Axios libraries. We can assure you that having a hook that is well tested and suitable for many scenarios can save you tons of time and this is a must-have when starting to build react native application from scratch. The hook can help you with paging, setting loading indicator, handling errors, and providing a human-friendly error explanation. Let’s scare you a bit and show the source of how it looks like:
In the image above we have a hook that is responsible for gathering data. The main responsibility for this hook is to try-catch the error response. It passes data to the API and returns the result with a total records indicator as an extra. Also, it gives you back indicators that can play well with our custom react list component. On top of that, you have error handling in place. You can here translate the error message. More explanation of how the hooks works please check out our video that walks through all the concept.
Let’s jump into the Employees screen where we are going use this component.
So now we have a dedicated file-component to show employees. By placing it into our main starting file we will get a list of Employees.

Related Posts